When a folk tale is told at a festival it breathes, twists, and grows with every voice. Translating that living, wandering story into a knit pattern that a beginner can follow is a gentle kind of translation — part storytelling, part technical drafting. I love doing it because it feels like teaching someone to stitch a bit of oral heritage into their hands. Here’s how I turn those spoken tales into clear, user-friendly instructions, and how you can do the same whether you’re drafting a simple toy, a shawl with a motif, or a festival banner inspired by a local song.
Listen first, knit second
I start by listening. Not just to the plot, but to the texture of the tale: repeating phrases, character quirks, rhythms, and sensory details. When I first heard the story of the "Festival Fox" at a village fête, its repeated refrain — "he tucked his tail and danced" — became the motif beat I wanted to echo in the knitting. For pattern work this matters because the elements that repeat in speech often make the clearest stitch repeat in knitting.
Take notes in two columns: one for narrative elements (characters, motifs, moods), another for visual/structural ideas (colour blocks, stitch patterns, shaping). This keeps the translation balanced between story and stitch.
Choose a simple shape for beginners
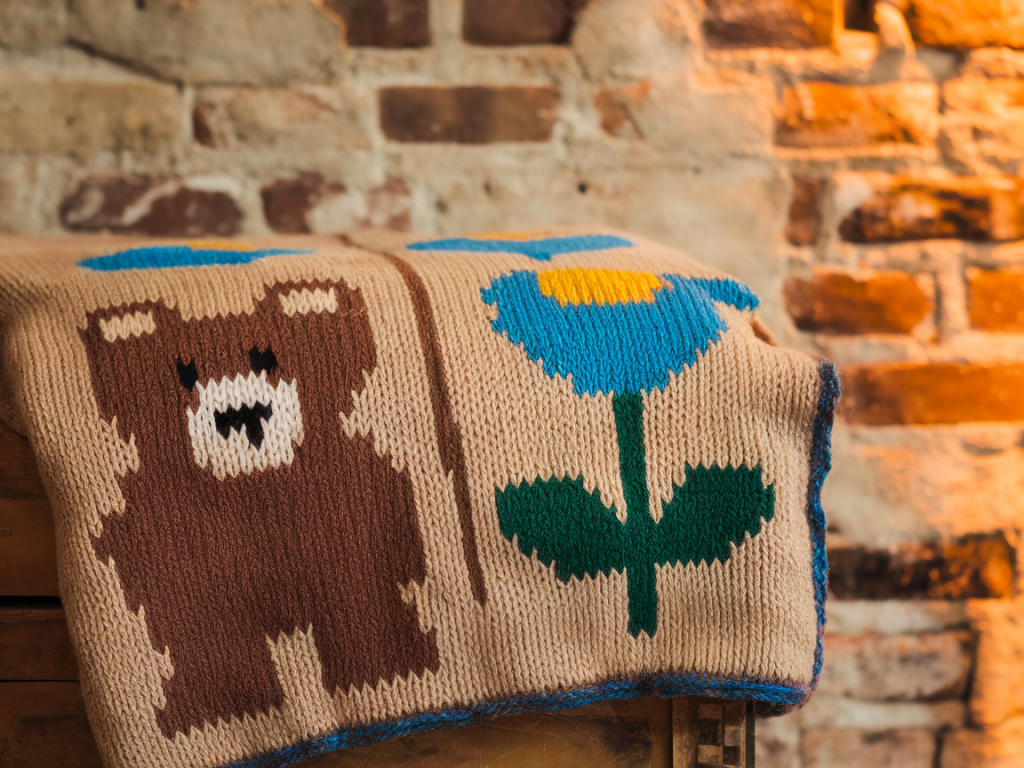
Beginner-friendly equals predictable construction. For knitted characters I often choose: a simple ovoid body, straight limbs worked in the round or flat, and an embroidered face. For accessories — garlands, tiny flags, or shawls — rectangular or triangular shapes are easiest. The aim is to reduce surprises: predictable increases/decreases, clear seams, and no complex lace or colourwork unless I provide fully charted, step-by-step support.
- Tip: Use stockinette or garter as your base. Both are forgiving and teachable.
- Tip: Avoid provisional cast-ons or Kitchener stitch in beginner projects unless you offer a visual tutorial.
Break the story into pattern modules
I divide the pattern into small, labelled modules that mirror the tale's beats. For a character pattern these modules might be: head, body, limbs, clothes, and finishing (embroidery and assembly). Each module corresponds to a tiny scene in the story. I write a short story-blurb at the top of each section: a line or two reminding the knitter which part of the tale they're making. This helps knitters stay engaged and understand why a piece looks a certain way.
Write like you speak — and then simplify
I write instructions the same way I tell a story: conversational, clear, and with pauses. For example: "Pick up 10 stitches evenly around the neck — imagine you’re sewing the fox into his scarf." Then I translate that into concrete steps: "Using spare needle, pick up and knit 10 sts evenly around neck opening." For beginners I avoid compound sentences and stack short sentences for clarity.
Make abbreviations and a clear glossary
Abbreviations are essential, but they must be explained. I include a glossary near the start and repeat it as a hover-friendly sidebar on the blog when possible. Here’s a compact table I often include in patterns:
| Abbrev | Meaning |
|---|---|
| CO | Cast on |
| k | knit |
| p | purl |
| K2tog | knit two together — decrease |
| ssk | slip, slip, knit — left-leaning decrease |
| st(s) | stitch(es) |
In the blog post itself I’ll use both the abbreviation and the written-out form in the same instruction once, e.g. "K2tog (knit two together)". That helps new readers learn the lingo without getting lost.
Give gauge and yarn options — plain language and practical swaps
Gauge is the big question beginners always ask: "Do I have to match the gauge?" My answer is honest: you don’t always have to, but it affects size. I present gauge as a friendly guideline: "4 sts and 6 rows = 1 inch in stockinette on 4mm needles." Then I give easy swaps: "If using a chunkier yarn like King Cole Big Value (DK → Aran), try 5mm needles and expect a larger finished toy — stuffing requirements will increase." I also list a few yarn suggestions across budgets: luxury (West Yorkshire Spinners), mid-range (Stylecraft Special DK), and beginner-friendly acrylics (Cygnet Rainbow). This helps makers pick what suits their festival-take-home budget or their eco-values.
Include step-by-step photos or diagrams
Words alone trip people up. For every technique that might be unfamiliar — picking up stitches, stuffing evenly, invisible grafting — I include a photo sequence or a simple diagram. I prefer mobile-friendly photos shot in natural light on a neutral background. If the pattern has a unique construction trick, I break it into numbered micro-steps and pair each with an image. This is where the knitting community shines: I often link to short YouTube clips or Ravelry tutorials for techniques I don’t photograph myself, always crediting creators.
Test and user-test with real beginners
Once I draft the pattern, I knit a prototype and then run a small test group — ideally 3–5 knitters with a range of experience. I ask them to highlight anything they hesitated over: unclear phrasing, missing stitch counts, or ambiguous shaping. Sometimes something that made sense to me, as the maker, is mystifying to someone new. Iterating based on that feedback is the step that turns "accurate" into "friendly."
Pattern layout and accessibility
On the blog I format patterns for easy reading: short paragraphs, bold headings, and bullet lists for sequences of repeats. I also add an accessibility note for visually impaired knitters: "If you need the pattern in large type, screen-reader friendly text, or a PDF without images, e-mail me and I’ll send it." Small gestures like offering a downloadable PDF and alt text for photos make the pattern usable by more people.
Weave the tale into the headings and notes
I don’t want the pattern to feel dry. Little story asides give context and encourage new knitters. Under "Head" I might write: "As you decrease the crown, imagine the fox tucking his tail — we make smaller, closer stitches as he curls." These notes are optional and clearly labelled so they don’t interfere with the technical instructions, but they help maintain the festival-spun mood and make the knitting experience feel like a shared story-time.
Provide finishing checklists and troubleshooting
Finishing is where many beginners get stuck. I include a clear checklist: "Have you sewn up seams? Are safety eyes secure? Is stuffing even? Have you embroidered facial features?" Then a short troubleshooting section answers common issues: "If your toy looks lopsided, check for asymmetric increases; if your shawl edges ripple, try blocking or adjusting needle size." Practical, calm troubleshooting reassures and reduces abandoned projects — which I see a lot at festival workshops.
Encourage sharing and celebration
Finally, I invite knitters to share their finished pieces with a hashtag — I use #KnittedFestivalTales on Instagram — and I encourage them to tell the story that inspired the piece. For me, patterns are more than instructions. They’re invitations: to craft, to remember, and to pass along. Making a pattern beginner-friendly isn’t about dumbing down the story; it’s about handing someone a pair of needles and a map so they can stitch their own version of the tale.
If you’d like, I can post an example pattern based on a short tale — complete with photos and a printable PDF — so you can see this translation in practice. Or, tell me a local story and we can sketch how it might become a small knitted character or festival accessory. I love hearing the tales festival-goers carry in their pockets as much as the ones that live in my memory.