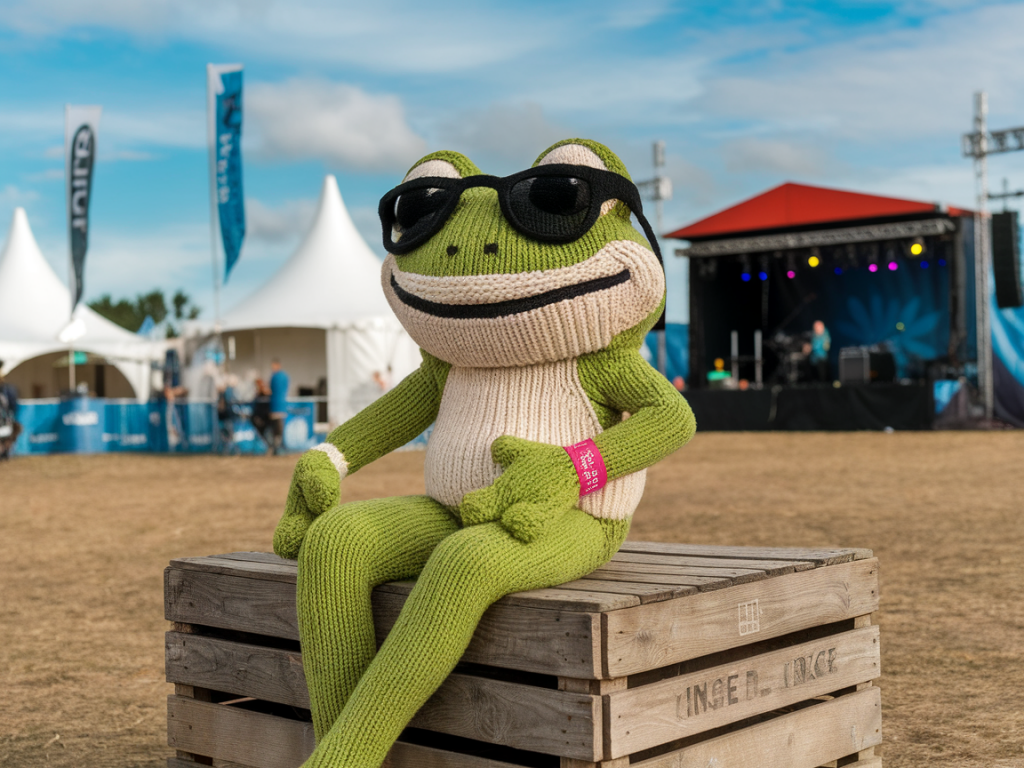
I’ve spent many summers walking festival fields with a notebook in one hand and a compact knitted mascot in the other, watching how a tiny woollen face can charm a crowd from a muddy tent doorway to the front of a main stage. Designing a festival-ready knitted mascot that passes airline cabin size rules — and still crackles with personality — is a challenge that blends craft smarts with travel-savvy problem solving. Below I’ll walk you through the practical decisions and creative tricks I use when making mascots that are both carry-on friendly and festival fierce.
Know your airline limits (and plan for the smallest denominator)
Before I pick yarns or sketch character proportions, I check the cabin baggage rules for the airlines I’m likely to fly. Many carriers allow a personal item or carry-on with maximum dimensions around 55 x 40 x 20 cm for overhead bins, but a safer target for a mascot tucked under the seat is closer to 40 x 30 x 15 cm — and some low-cost airlines shrink that allowance. I design to fit the tightest realistic space so I don’t get snagged at boarding.
Here’s a quick reference I keep in my travel kit:
| Placement | Typical max dimensions (cm) | Why it matters |
|---|---|---|
| Under-seat (personal item) | 40 x 30 x 15 | Most restrictive — ideal fit for mascots you want at hand |
| Overhead bin (standard carry-on) | 55 x 40 x 20 | More generous but less accessible during flight |
Design for compressibility
If your mascot can be squashed into a travel cube and re-sprung at a stall, you’ve won half your battle. I aim for a silhouette that looks intentional when slightly flattened. That means avoiding rigid internal structures or using removable elements that can be packed separately.
Materials that compress well:
What to avoid for carry-on mascots:
Make detachable accessories
It’s part of the fun to outfit mascots in festival gear: tiny scarves, aprons, banners, or a ukulele. For travel, I design these to be detachable with buttons, tiny snaps, or hidden loops. This way I can stow the accessories flat in a sleeve or pocket and reattach them at the festival pitch.
Tip: use small magnetic snap closures (sewn into felt backing) for fast on/off during busy setup times. Be mindful of strong magnets if you’re carrying around electronics.
Choose yarn and stitch structure wisely
Yarn choice affects weight, drape, and resilience. For mascots I’ll be boarding a plane with, I often pick:
Stitch choices matter too. A fabric of stockinette with a gentle rib at edges will compress and recover better than dense cable panels filled with tight stuffing. If you love texture, add it in removable garments or flat applique.
Keep weight under control
Airlines increasingly weigh carry-on items. I aim for mascots that weigh less than 500g (1.1 lb) fully dressed, though a packable 700–800g mascot is usually fine if well distributed and placed in a personal bag. Lightweight stuffing and felted features help shave off grams without losing tactile charm.
Think modular construction
Modular knitting — separate head, torso, limbs, and clothes that assemble with internal buttons or clips — is my favourite technique for travel-friendly mascots. You can:
When designing modular seams, I prefer inner cone-shaped closures or discreet zip connectors for quick assembly. Nothing worse than fumbling with fiddly buttons in the drizzle outside a bar tent.
Protect the face (and its expressions)
The face is everything. I avoid beads or glued-on features that could pop off or be flagged by airport security. Instead I use embroidered eyes and mouths or appliquéd felt, which remain expressive yet flat and durable.
If a plush nose or pompom is essential, make it detachable. I pack a small zip pouch with spare embroidered patches and a tiny sewing kit — one festival disaster averted when a gust of wind took a nose along the riverbank.
Packing strategy and travel cases
How you pack makes as much difference as how you design. My go-to method:
Festival personality that reads across distance
Design details must be legible from a stall a few metres away. I amplify silhouette, contrast, and movement:
Remember that texture is tactile up close, but from afar your mascot’s story is told by shape and colour. Test visibility by photographing prototypes at distance and on a phone screen.
Practical festival-ready touches
There are small, practical details that make big differences on site:
Legal and safety considerations
Check airline policies on lithium batteries if you plan light-up elements; most airlines allow them in carry-on if removable and within watt-hour limits. Keep small parts secured to reduce choking risk and avoid sharp armatures that could snag festival fabrics.
Above all, test. Fly with your prototype on a short trip, pack it in different ways, and watch how it behaves when people pick it up and kids give it hugs. Those real-world rehearsals teach you more than pattern notes ever will.
If you’d like, I can draft a simple modular pattern outline for a travel-friendly mascot or suggest specific yarns and suppliers I use (I’m partial to Rowan DK blends for bodywork and Cascade 220 for durable accessories). Tell me the size you’re aiming for and whether you want a festival musician, an animal companion, or a tiny storyteller — and we’ll sketch a travel-tested design together.